
Today's challenge included making 2 more blocks for the Flickr Group Vintage Quilt Revival Block Along. As the weeks go by, the block assembly is getting increasingly difficult.
Last week, for the first time, there was a block with a partial seam. I had never made a block with a partial seam. I took a quick look at the instructions and went for it. Not the best plan! I needed to do some un-sewing and a bit of fudging to complete the block. It looks all right, but I know it could have been better.
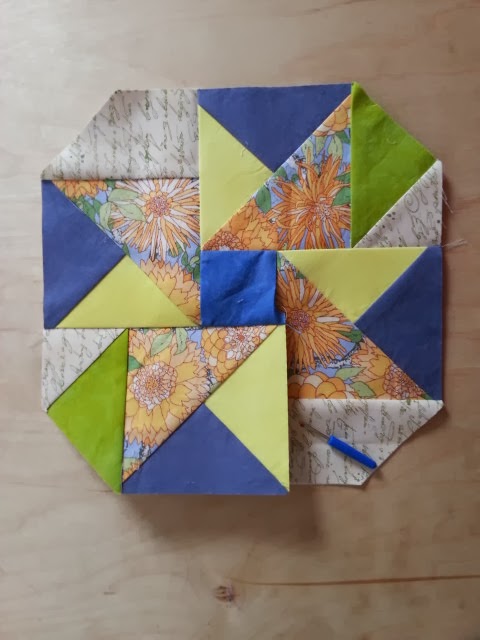
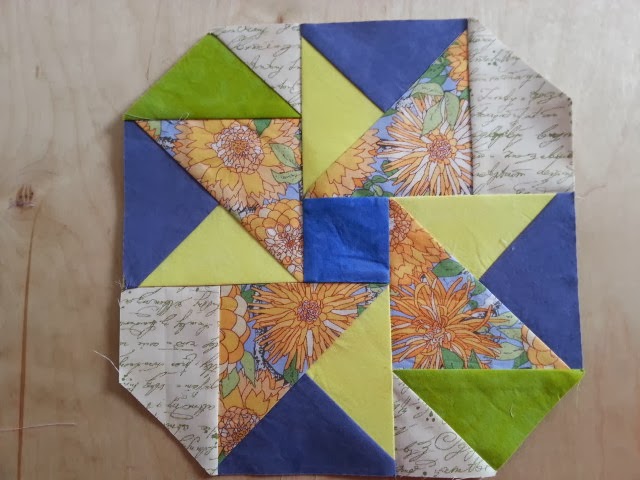
So this week, the Classic Double Windmill block, also has partial seam in the construction of the block. This time I decided to carefully read the instructions and study the excellent diagrams in the Vintage Quilt Revival book before I started to sew. The tricky component in this block is the central square. You have to build the block around it.
Last week, for the first time, there was a block with a partial seam. I had never made a block with a partial seam. I took a quick look at the instructions and went for it. Not the best plan! I needed to do some un-sewing and a bit of fudging to complete the block. It looks all right, but I know it could have been better.
 |
| Classic Tilted Star Block |
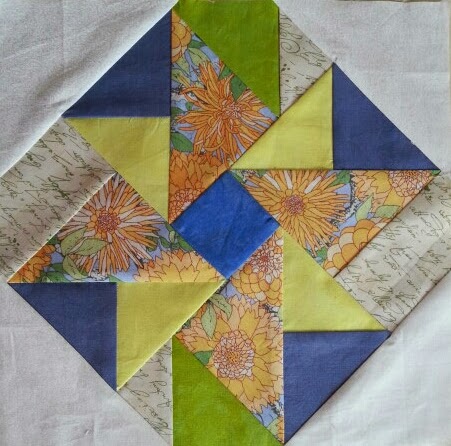 |
| Classic Double Windmill Block |
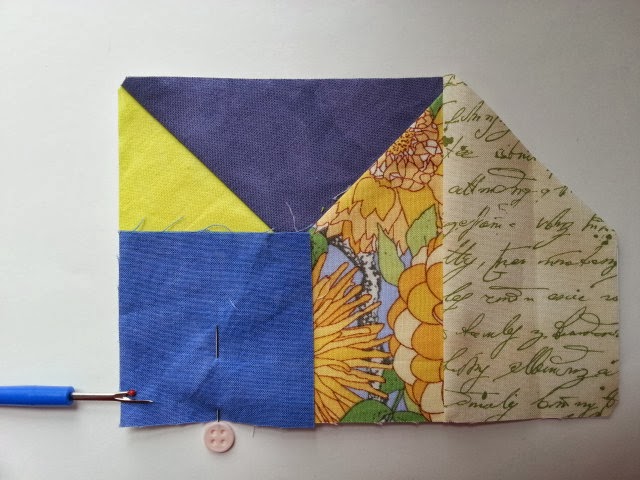
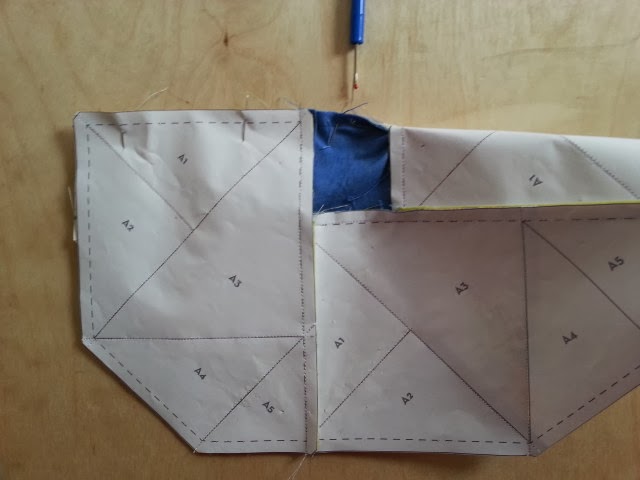
I paper pieced the 4 basic components of block. Then I started to sew them to the bright blue center square. The first seam is sewn from the left edge where the seam ripper is pointing, stopping HALF way across the blue square where the pin is located. That will leave half the square piece loose so the 4th piece of the block can be attached to it.
Here is the block with the completed half seam.
The next piece of the block is attached to the longest side of the block.
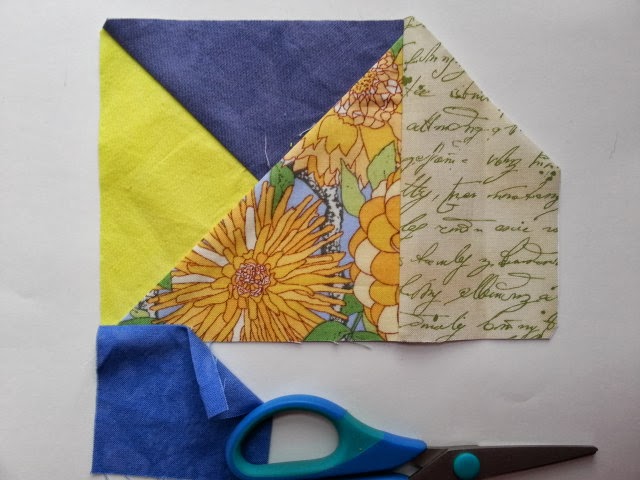
Add the 3rd piece. So far, so good.
Now the fun begins. The 4th piece of the block is attached to the long side of the 3rd piece of the block which includes the last full free edge of the blue central square. The photo below shows the block after that seam has been sewn.
You can see there is a open edge (indicated by the seam ripper) that includes the partial seam of the blue central block
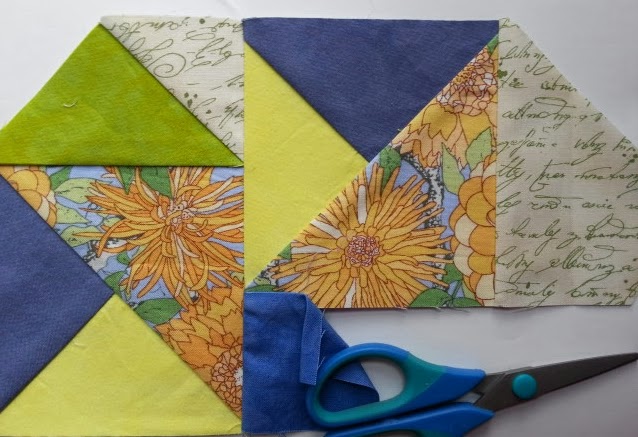
Finally sew together the last seam of the block. Start sewing at the middle of the blue central square (indicated by the seam ripper) and sew away from it toward the outer edge of the block. That helps prevent a lump in the middle if your pieces don't exactly match perfectly.
It works!! This turned out really well. It just needs 4 white triangles added to the sides of the block to complete it. (See finished block above).
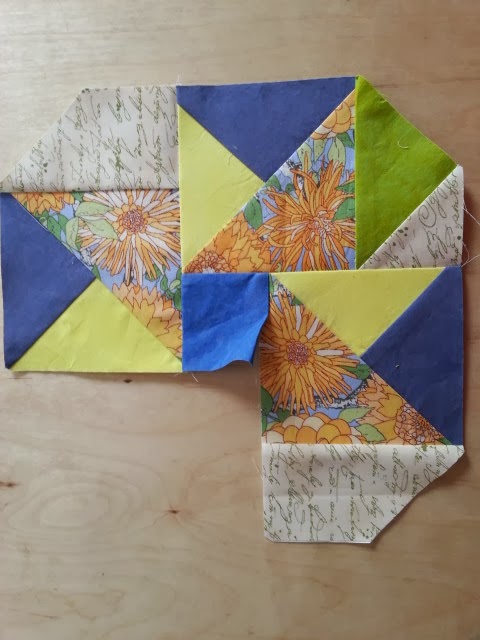
Here is the other block I completed today. It has a lot of pieces but it wasn't hard to assemble. A quilt made with just this block is really fun. The outer arc on the block connect to arc in the adjacent block making a concave diamond, which has star qualities, as a secondary pattern! I only have one block but the book has a great photo of the completed "Make it Spin Again Quilt."
 |
| Classic Wheel of Fortune Block |
I wonder if any of the blocks for next week have partial seams….