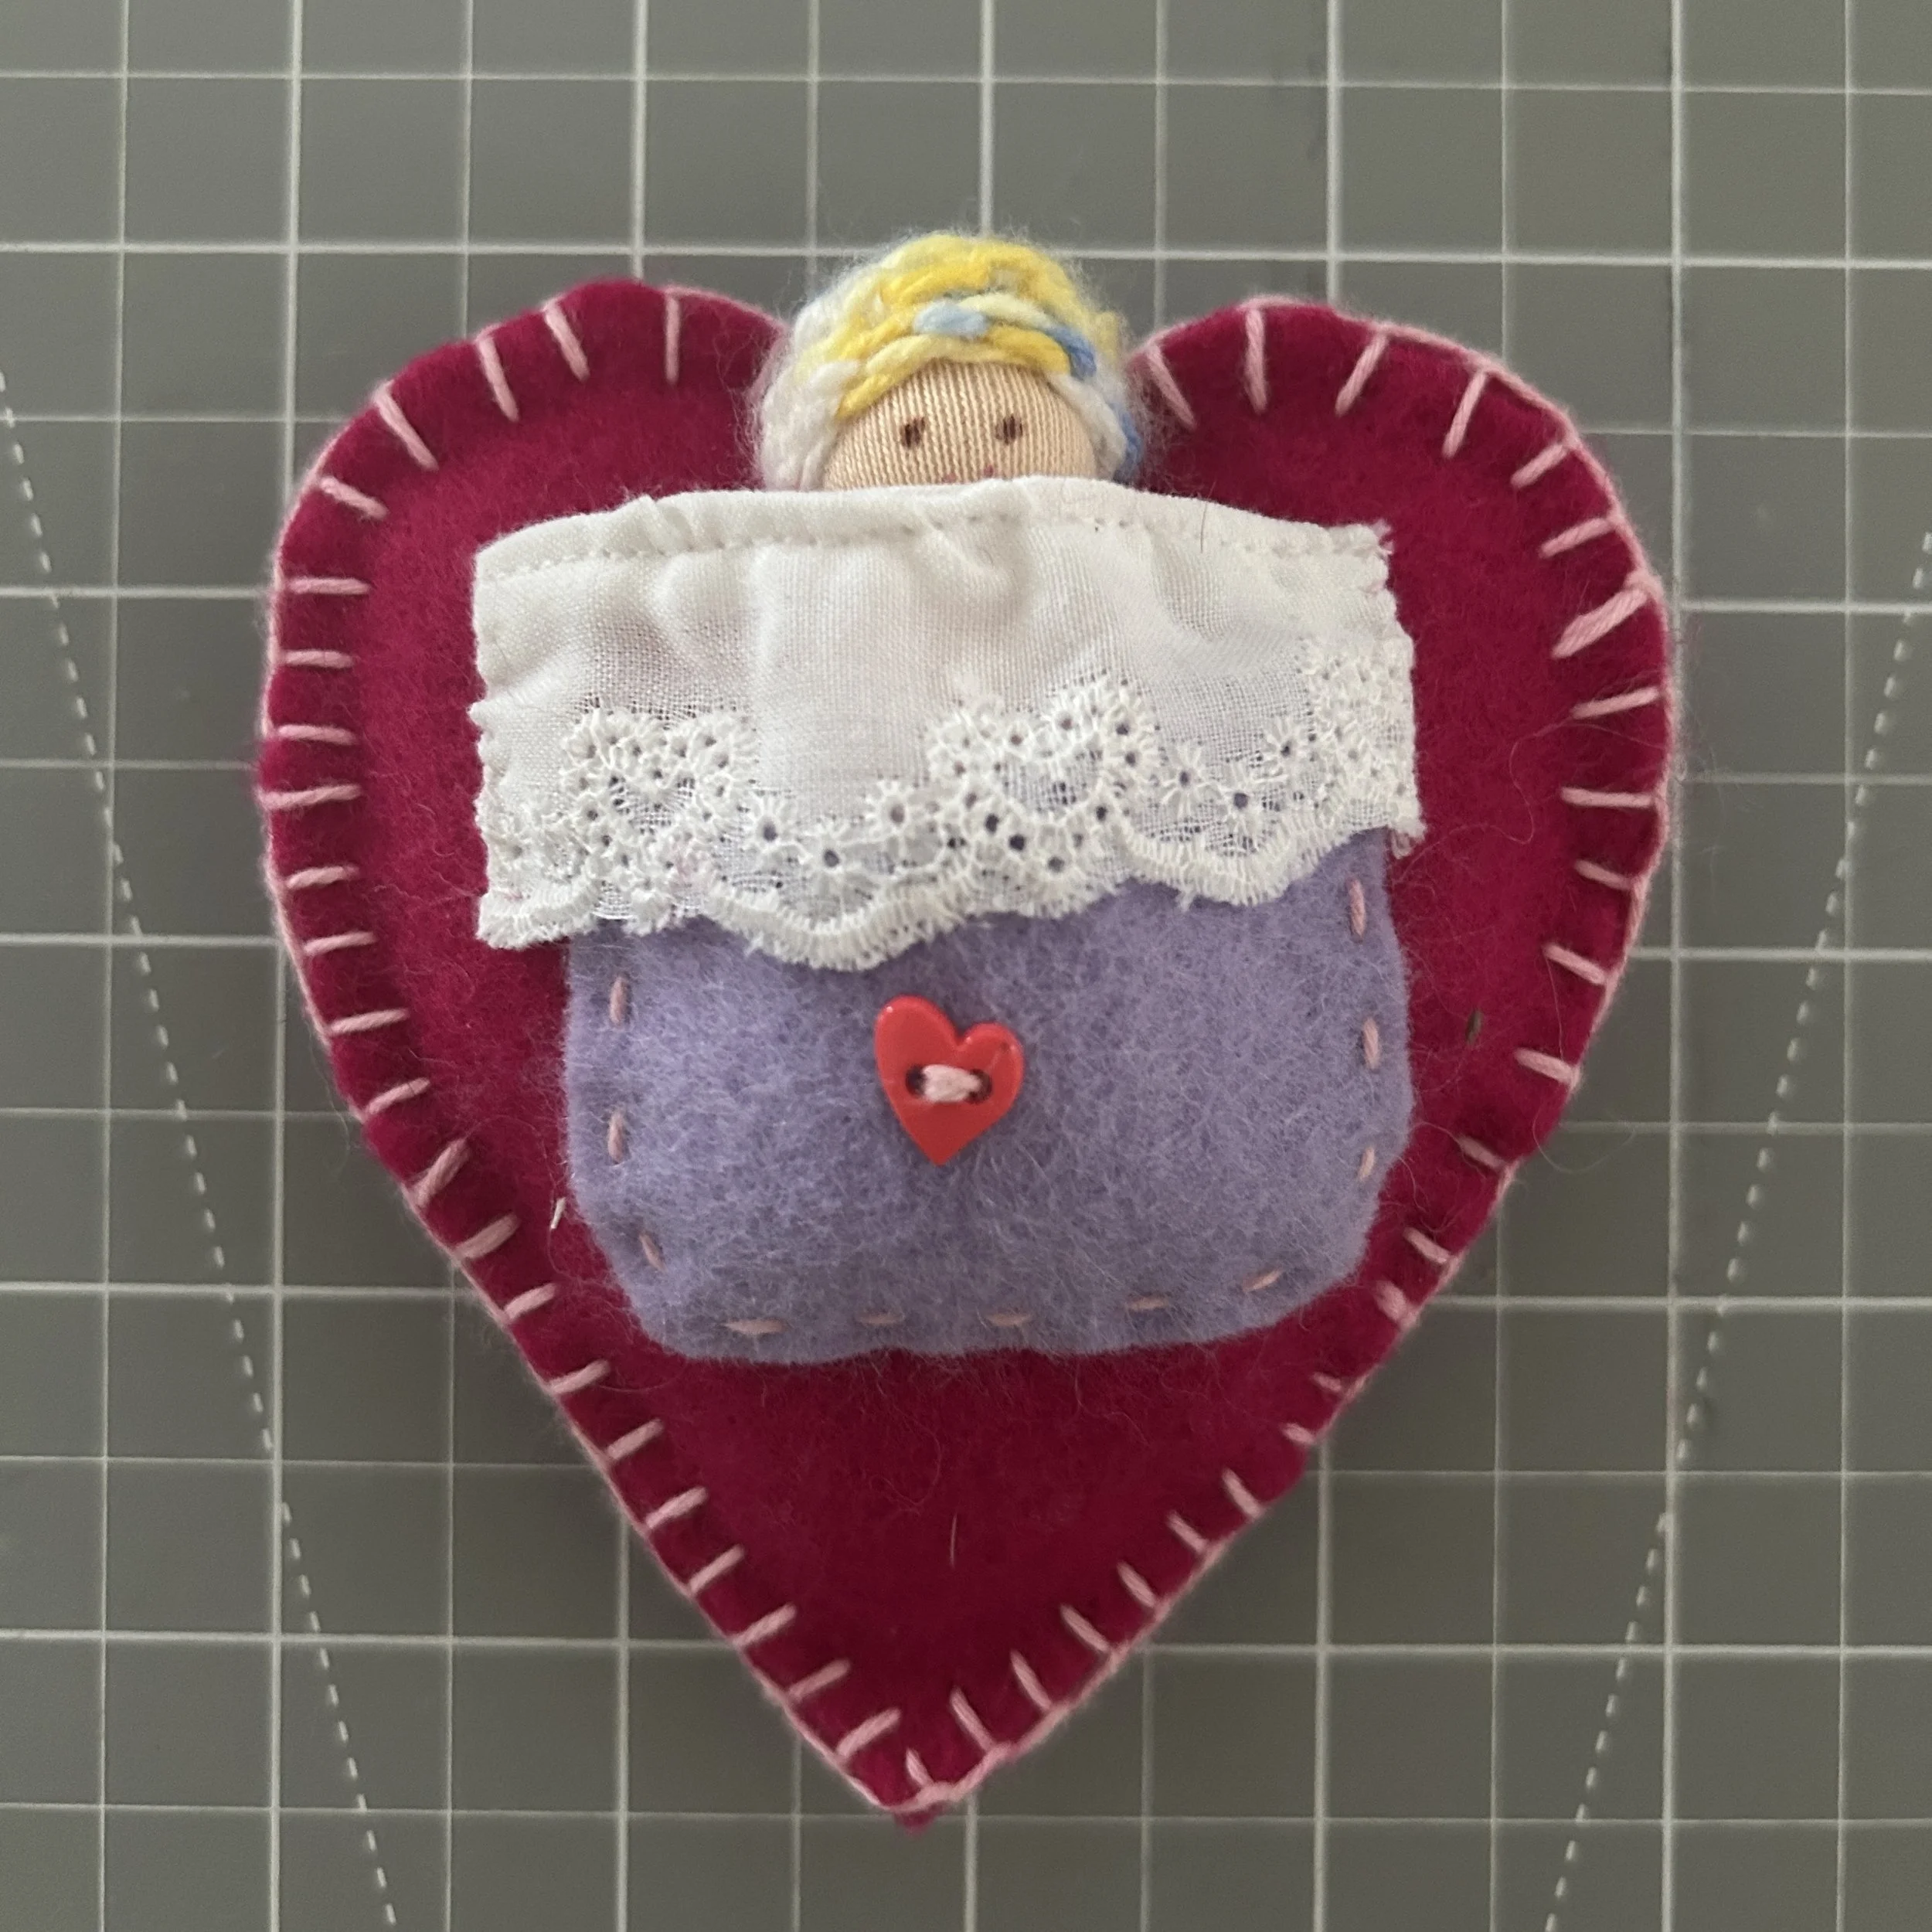
The shop, A Child’s Dream, which offers supplies for “natural arts, crafts and learning to nurture the child’s sense for life and imagination”, teamed up with renown peg doll creator, Margaret Bloom to create a tutorial and offer a kit to make a Valentine Peg Doll Pillow. Click on the link to see what they created. It’s great!
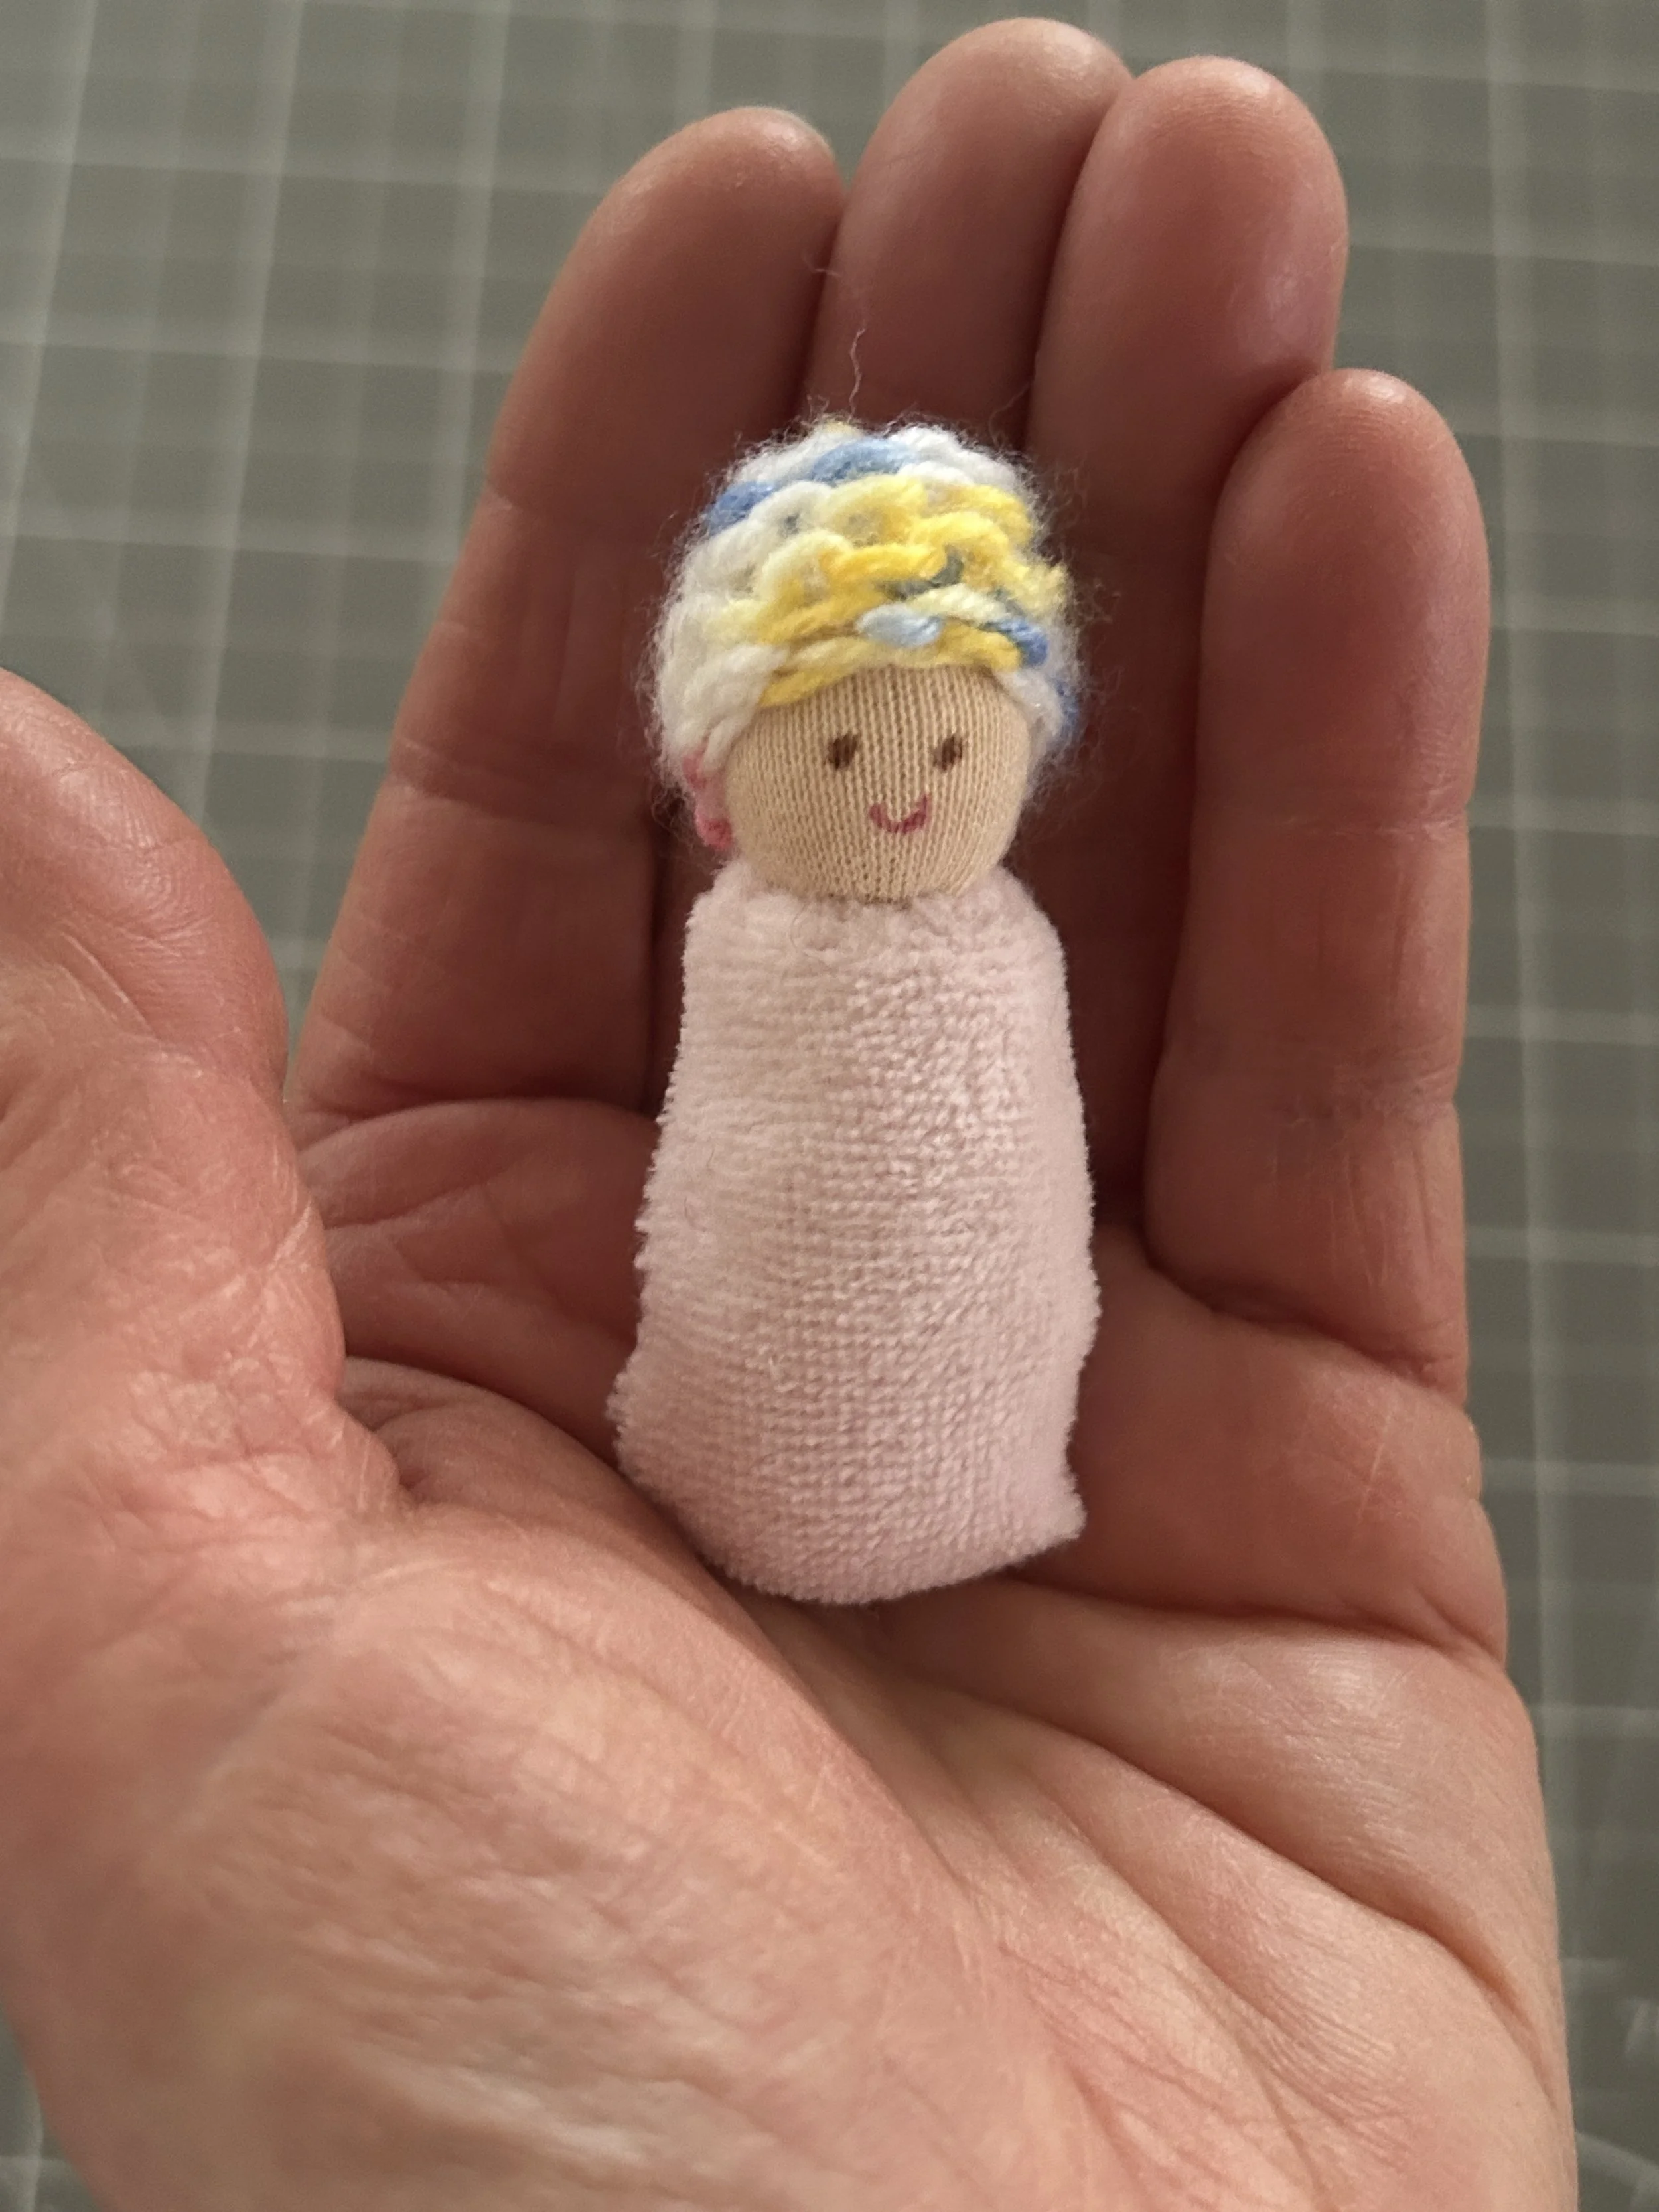
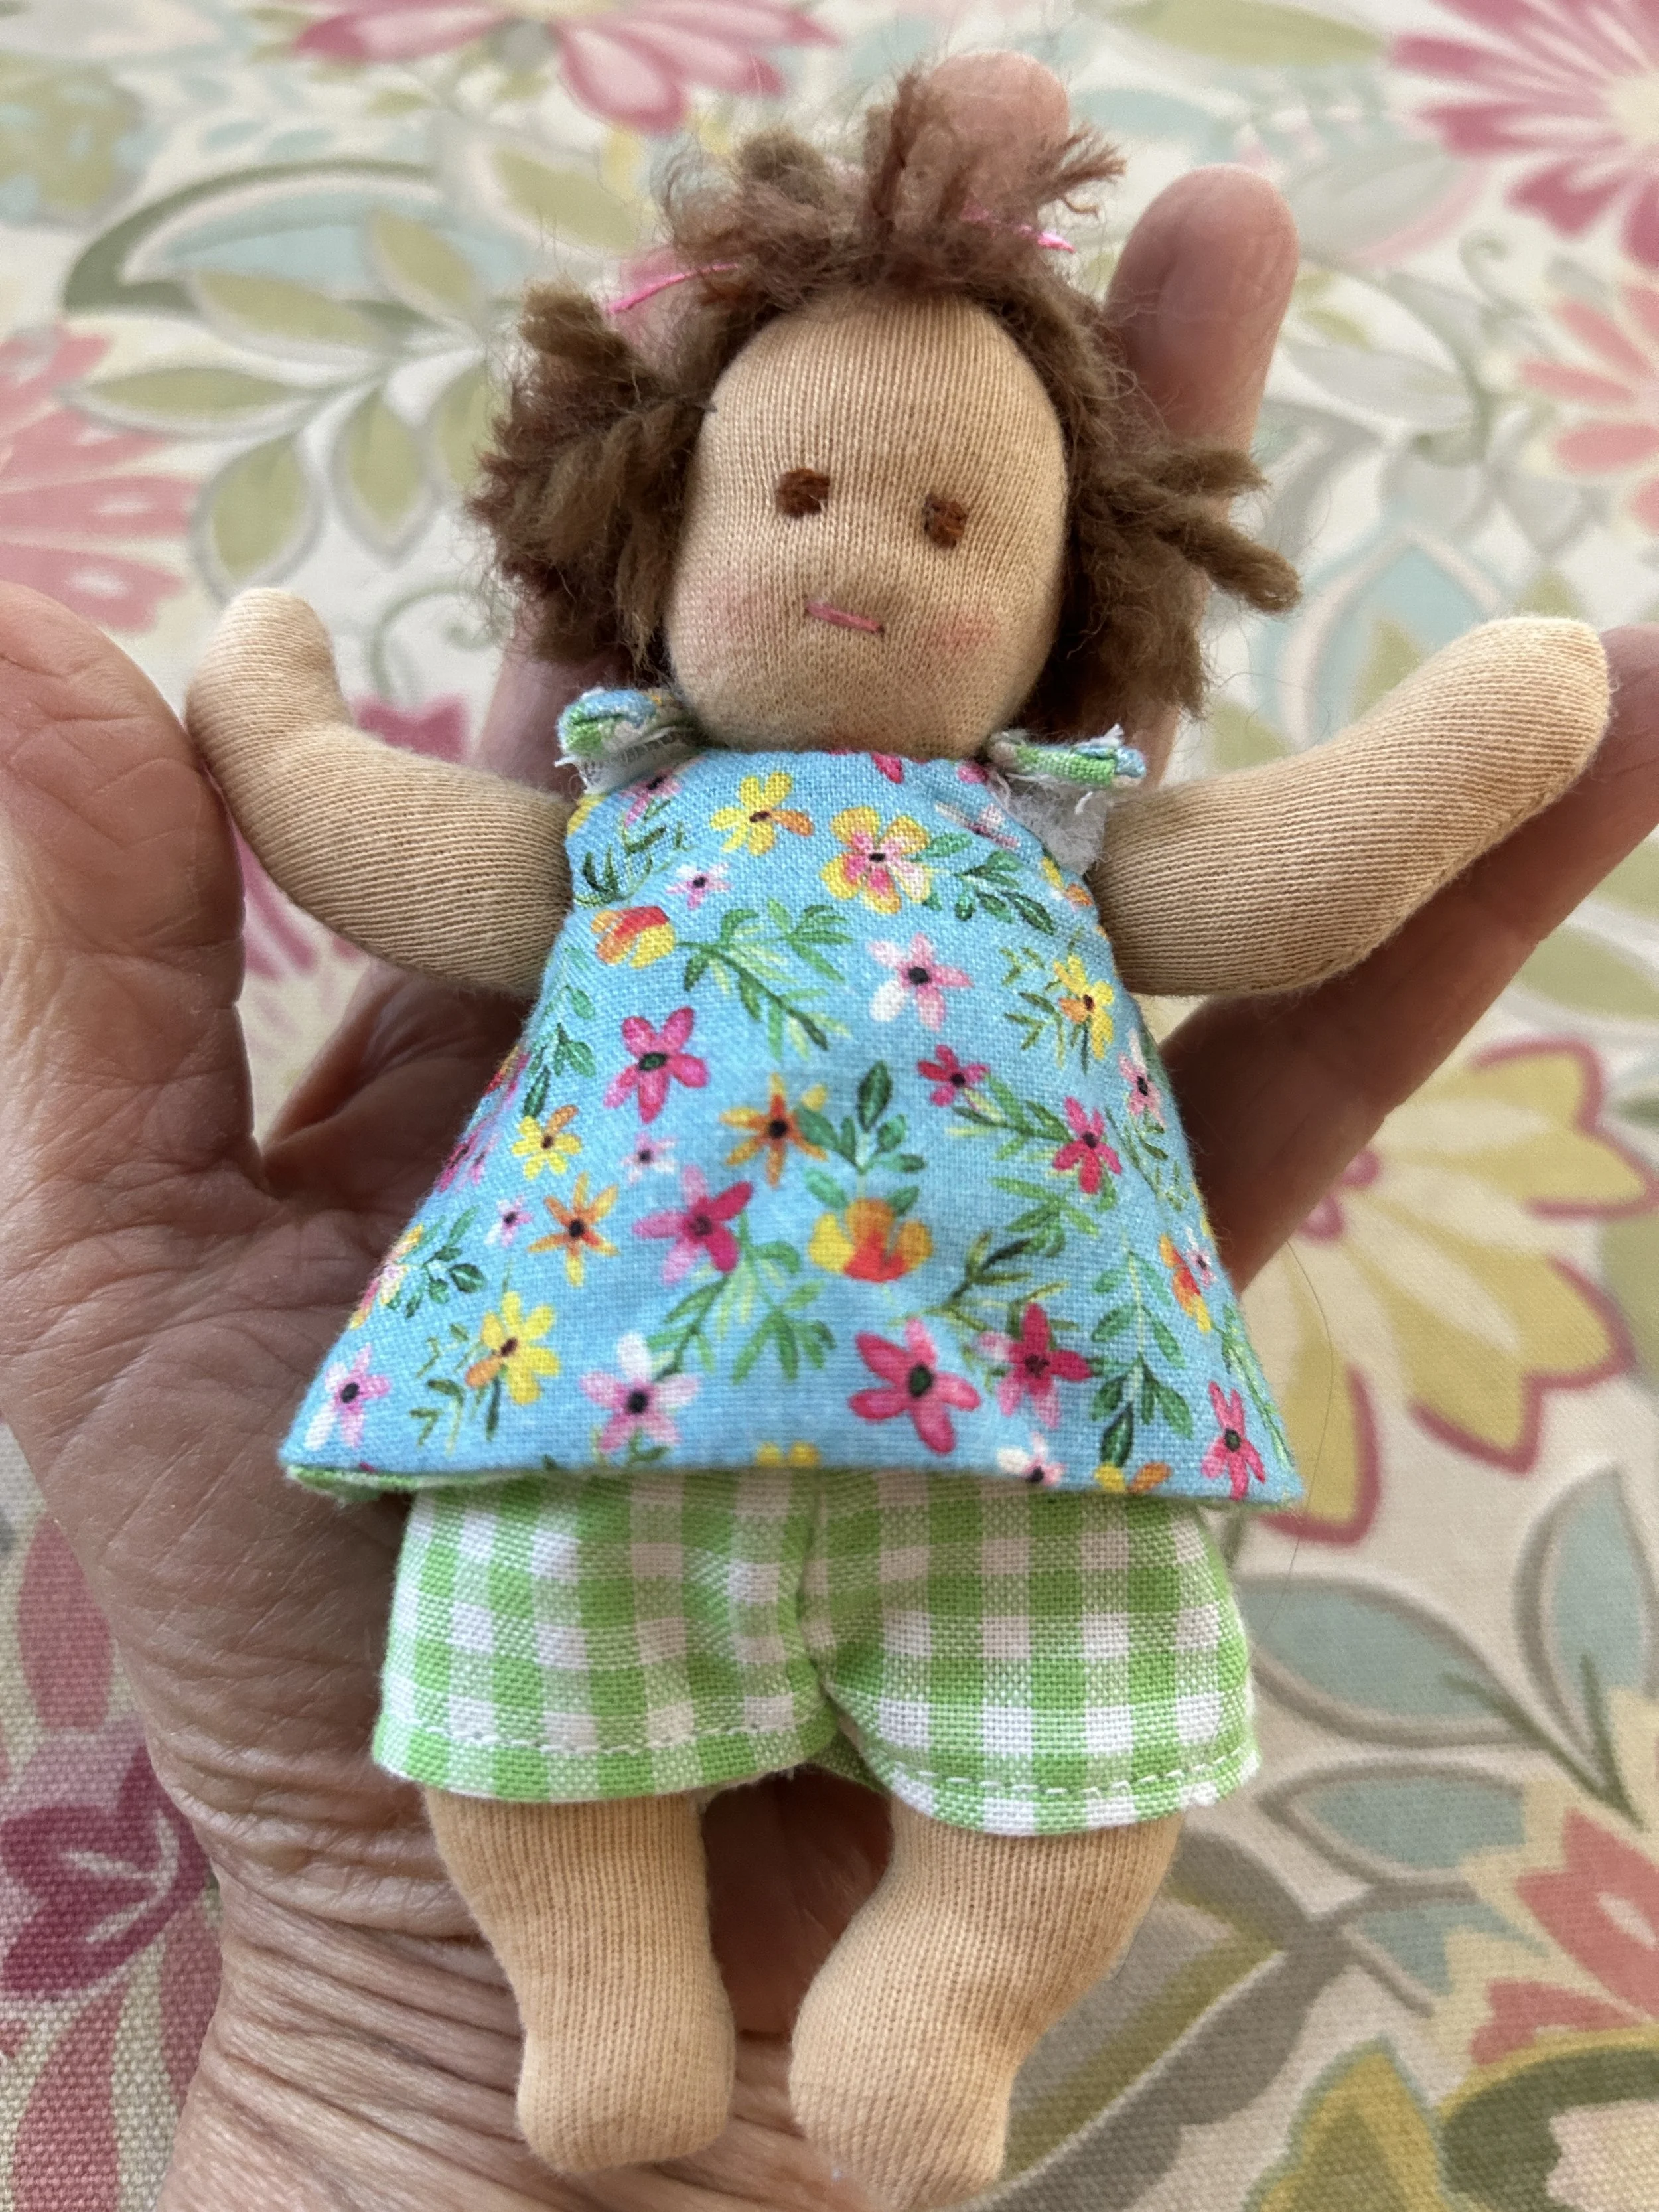
I started out to make my own peg doll pillow and got as far as sewing the pocket on the front of the heart when I had a thought. I was making this for a child who loves Waldorf dolls. What about making a tiny Waldorf doll, the size of a peg doll? I wasn’t sure I could do it, but the challenge was on!
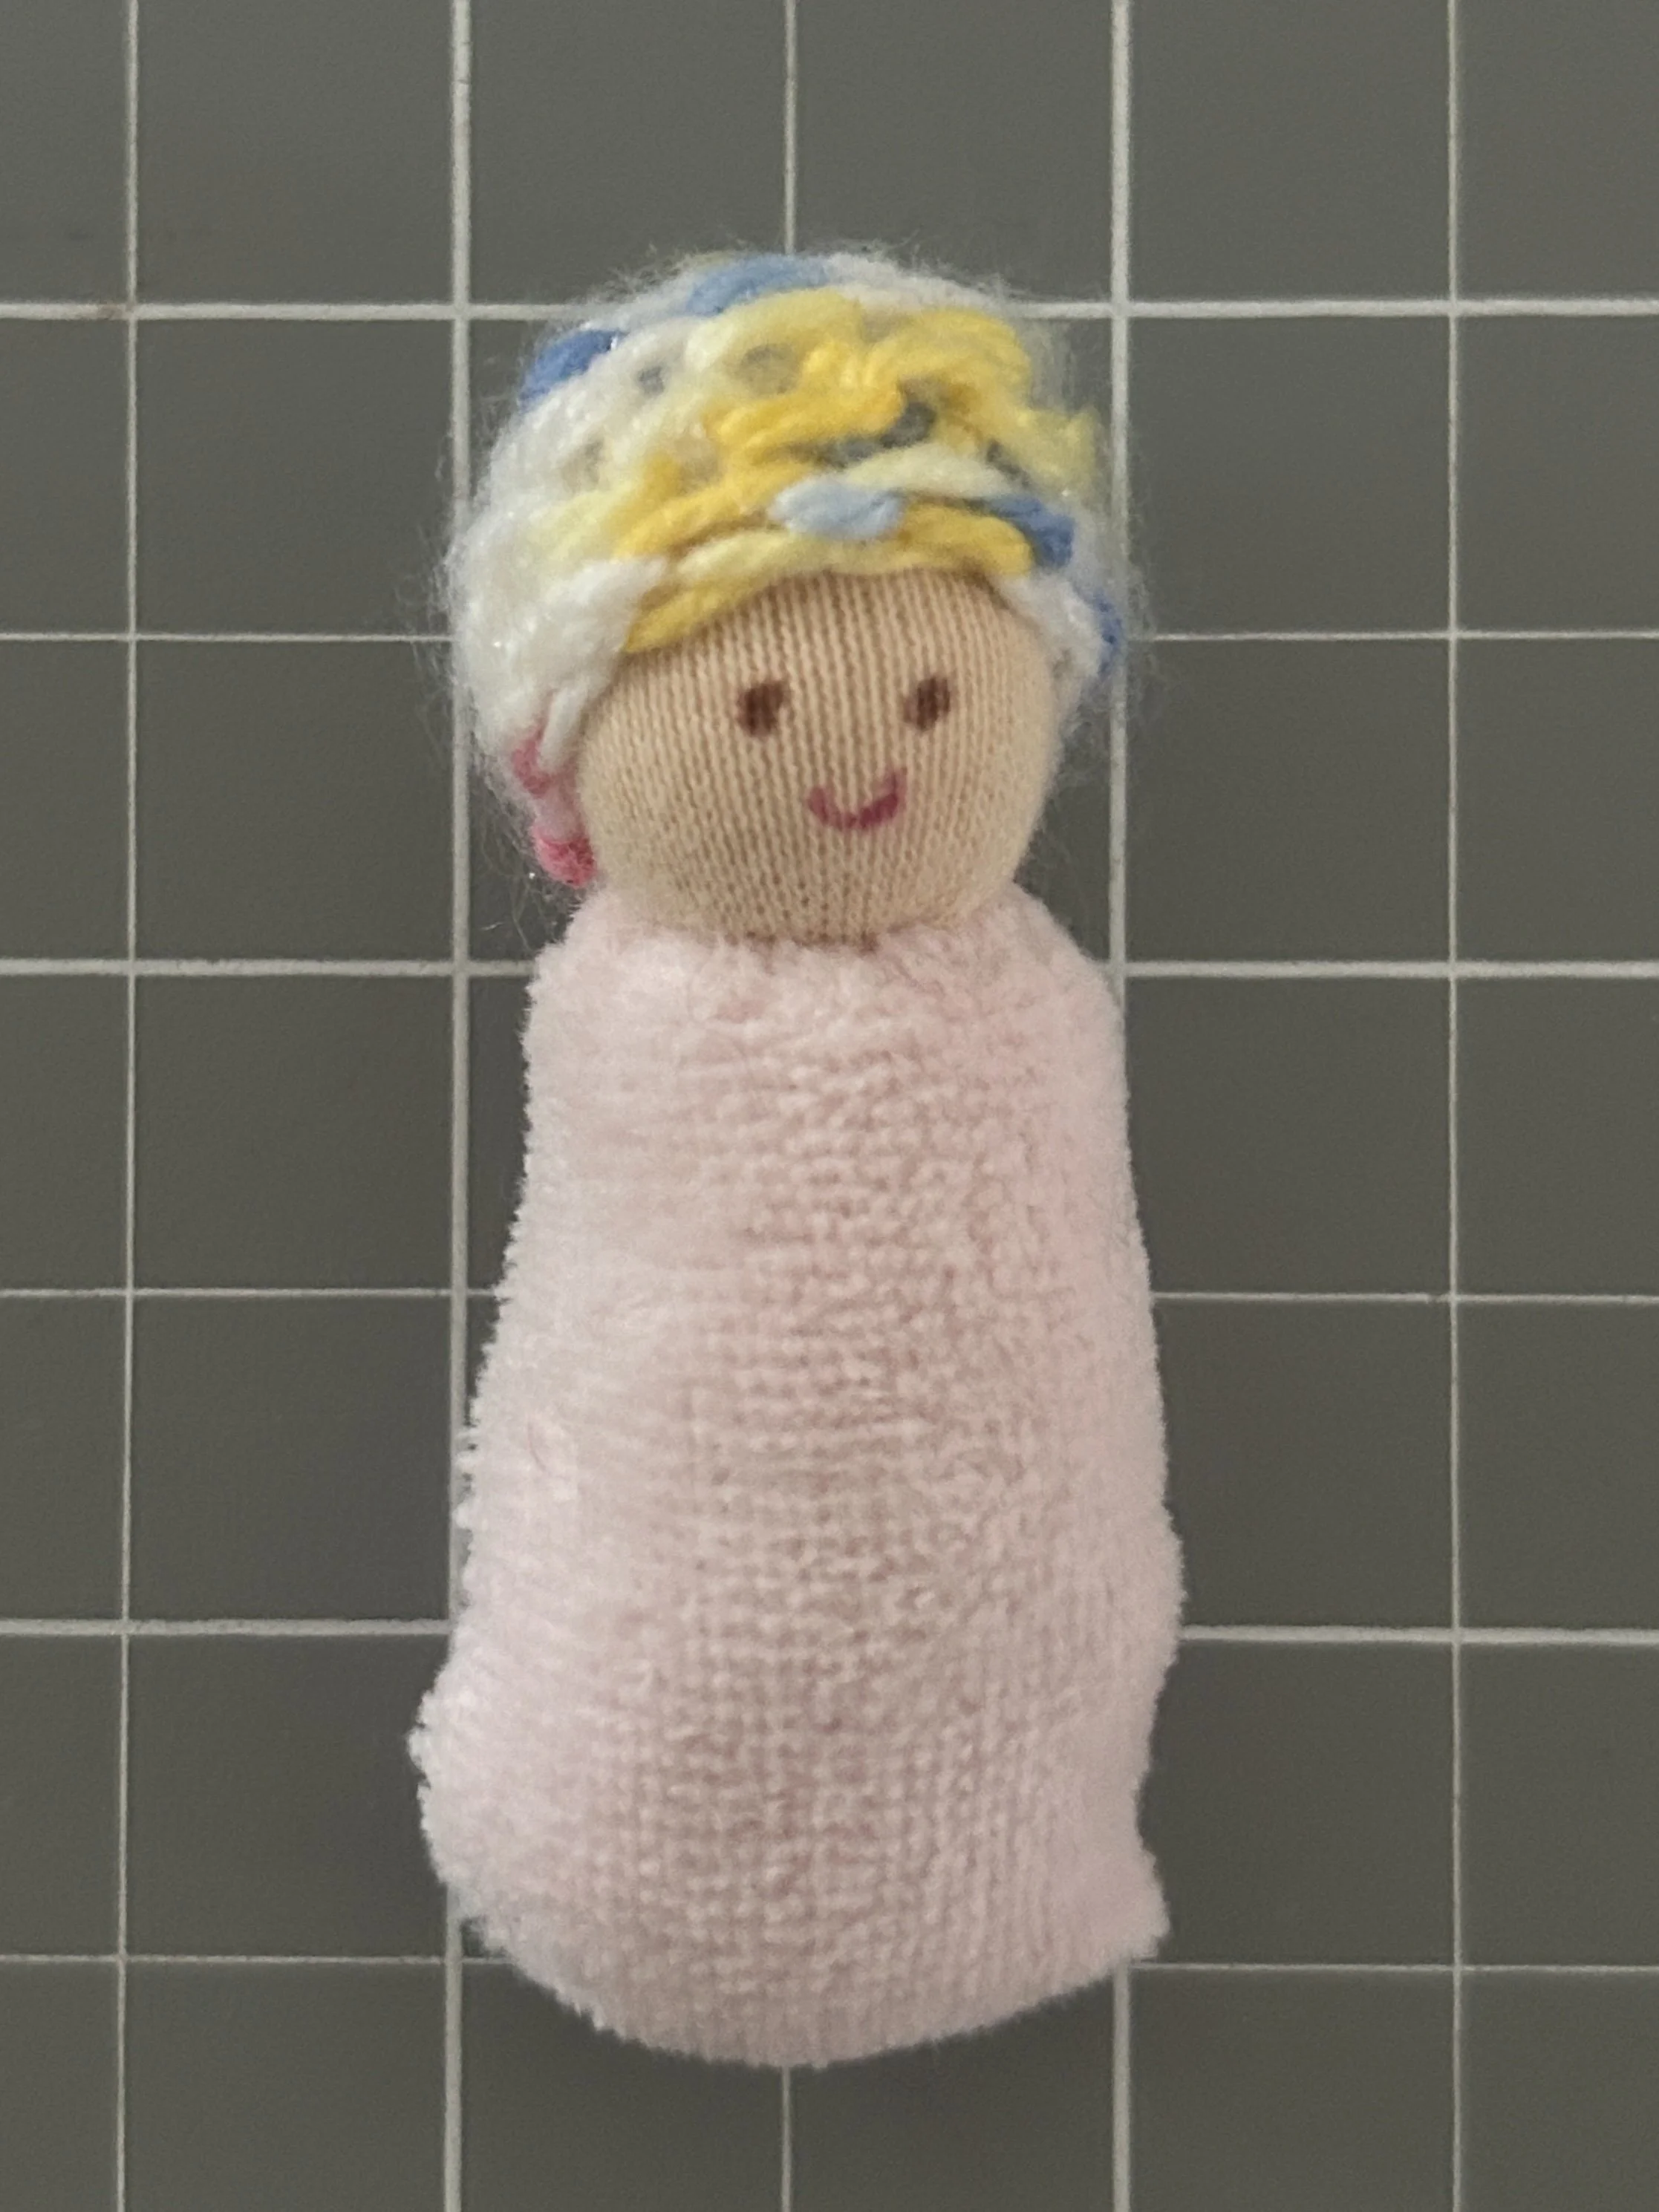
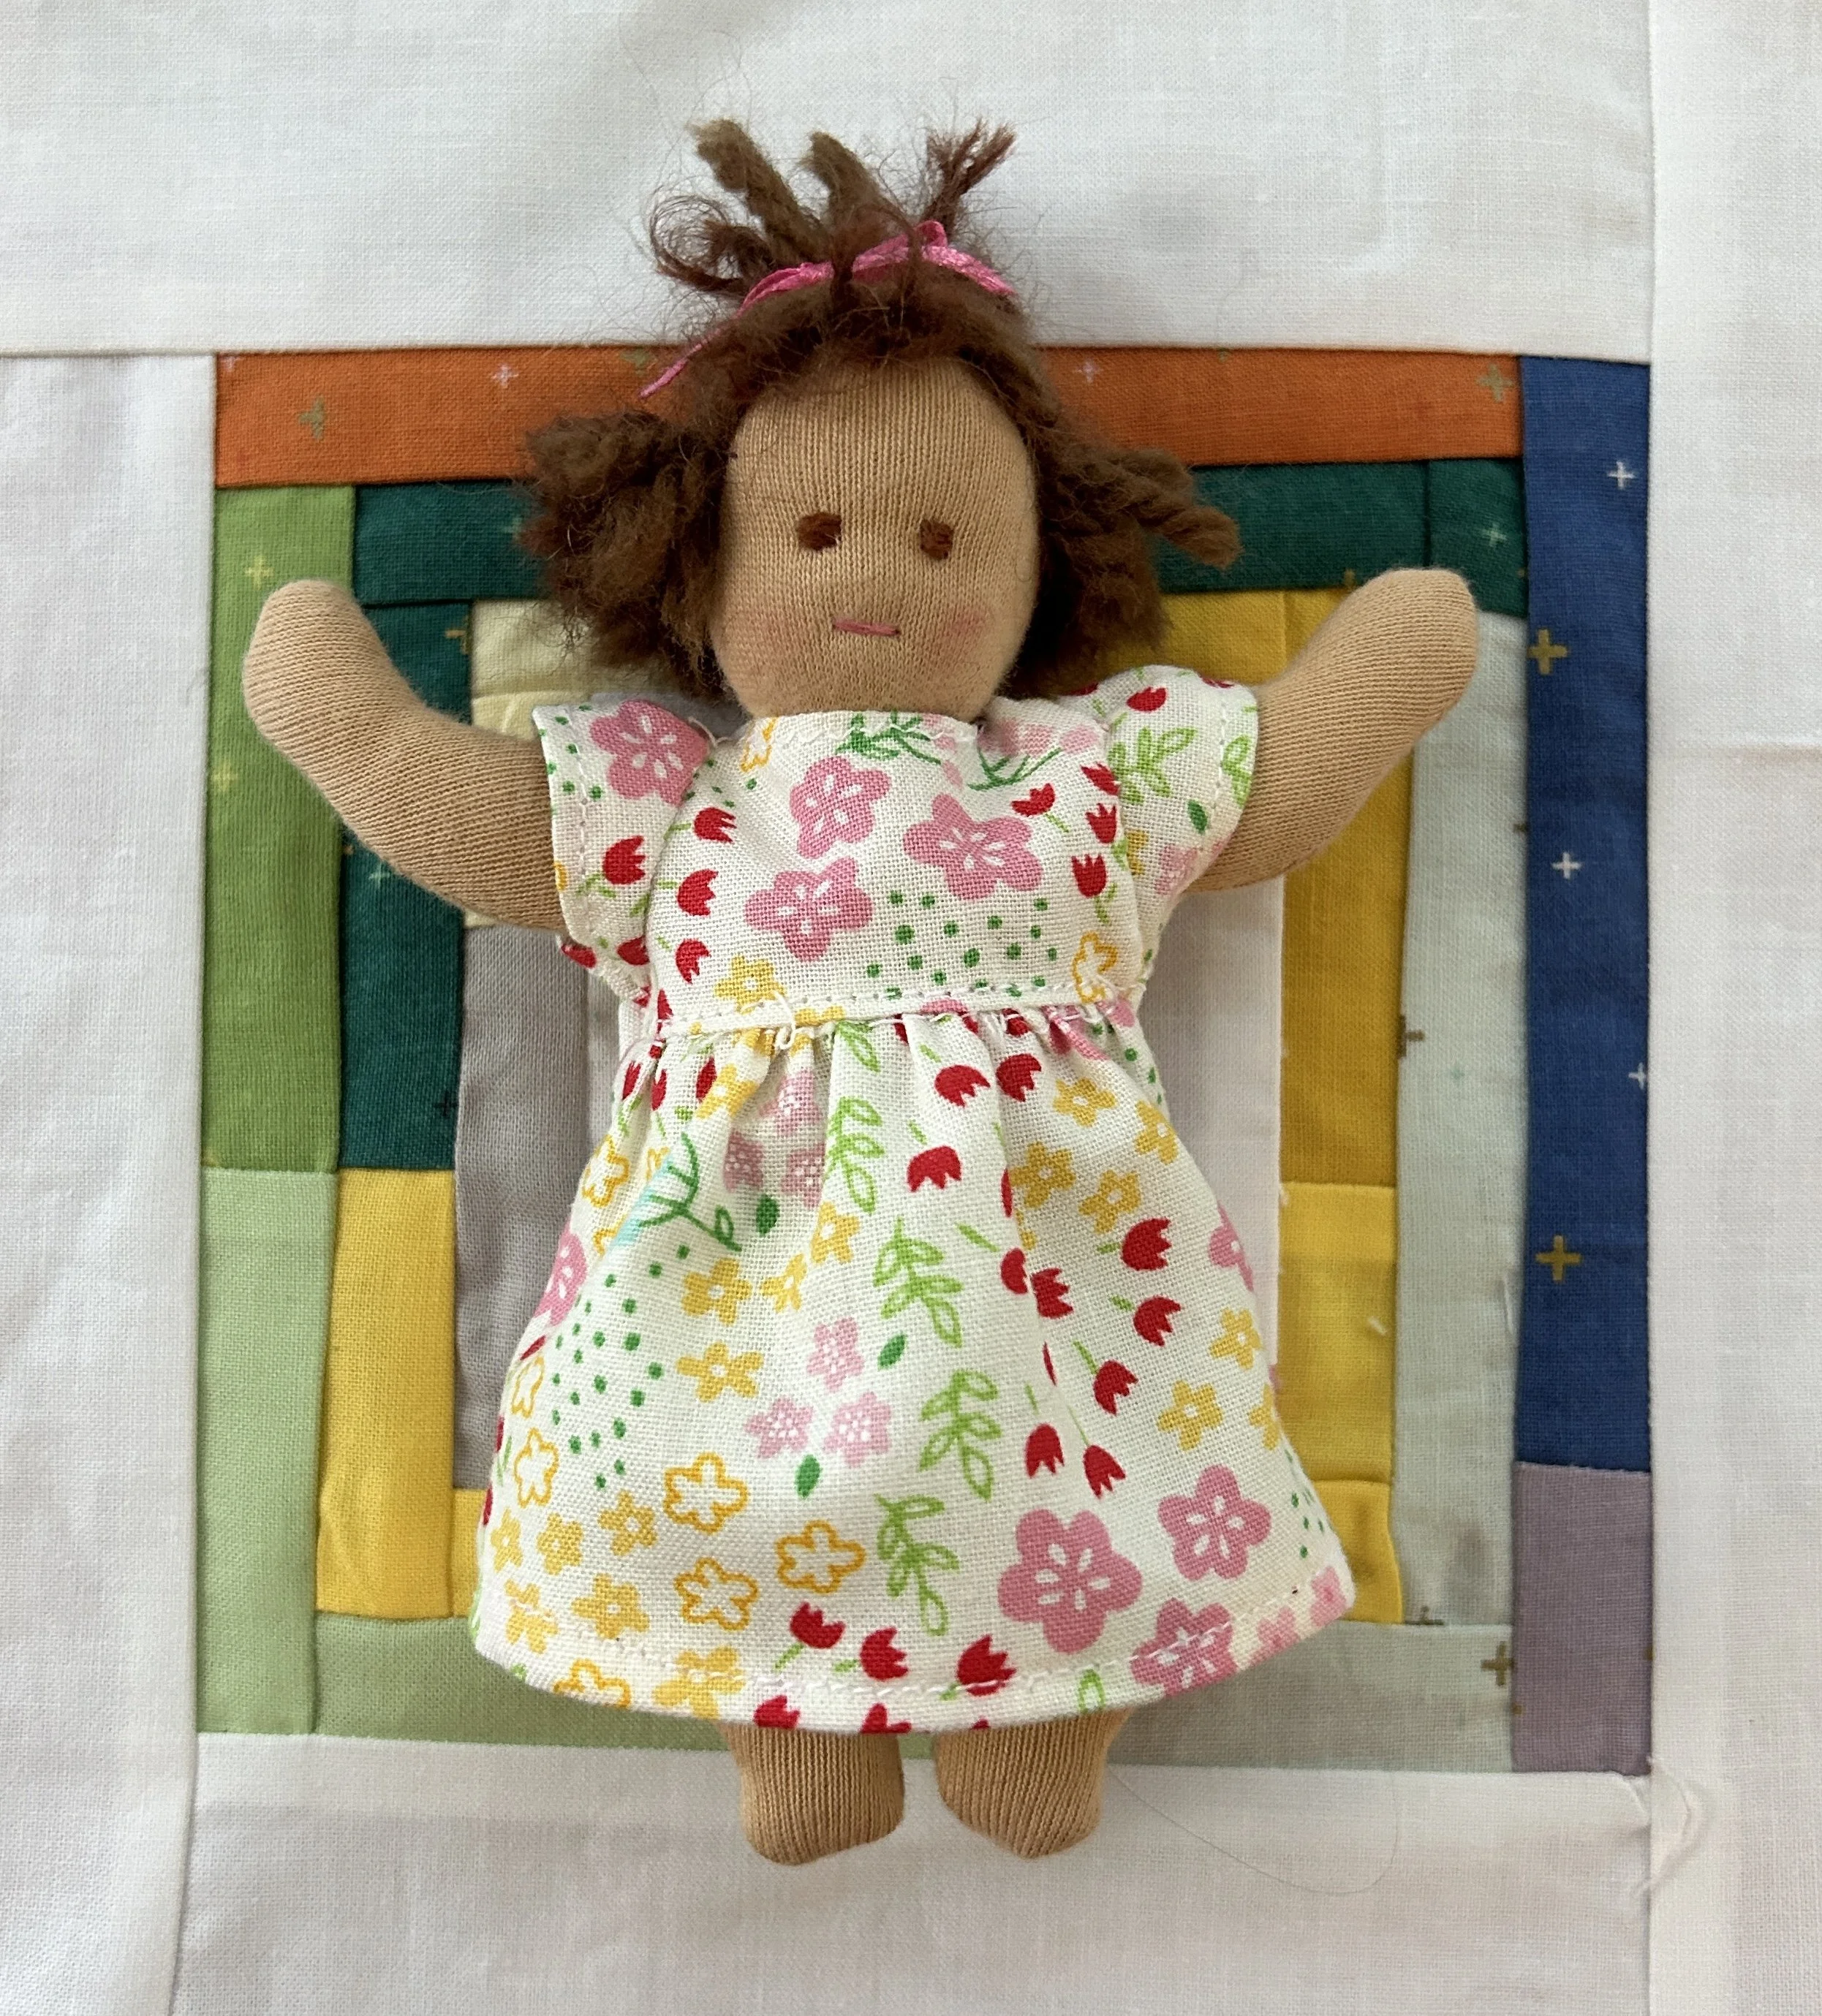
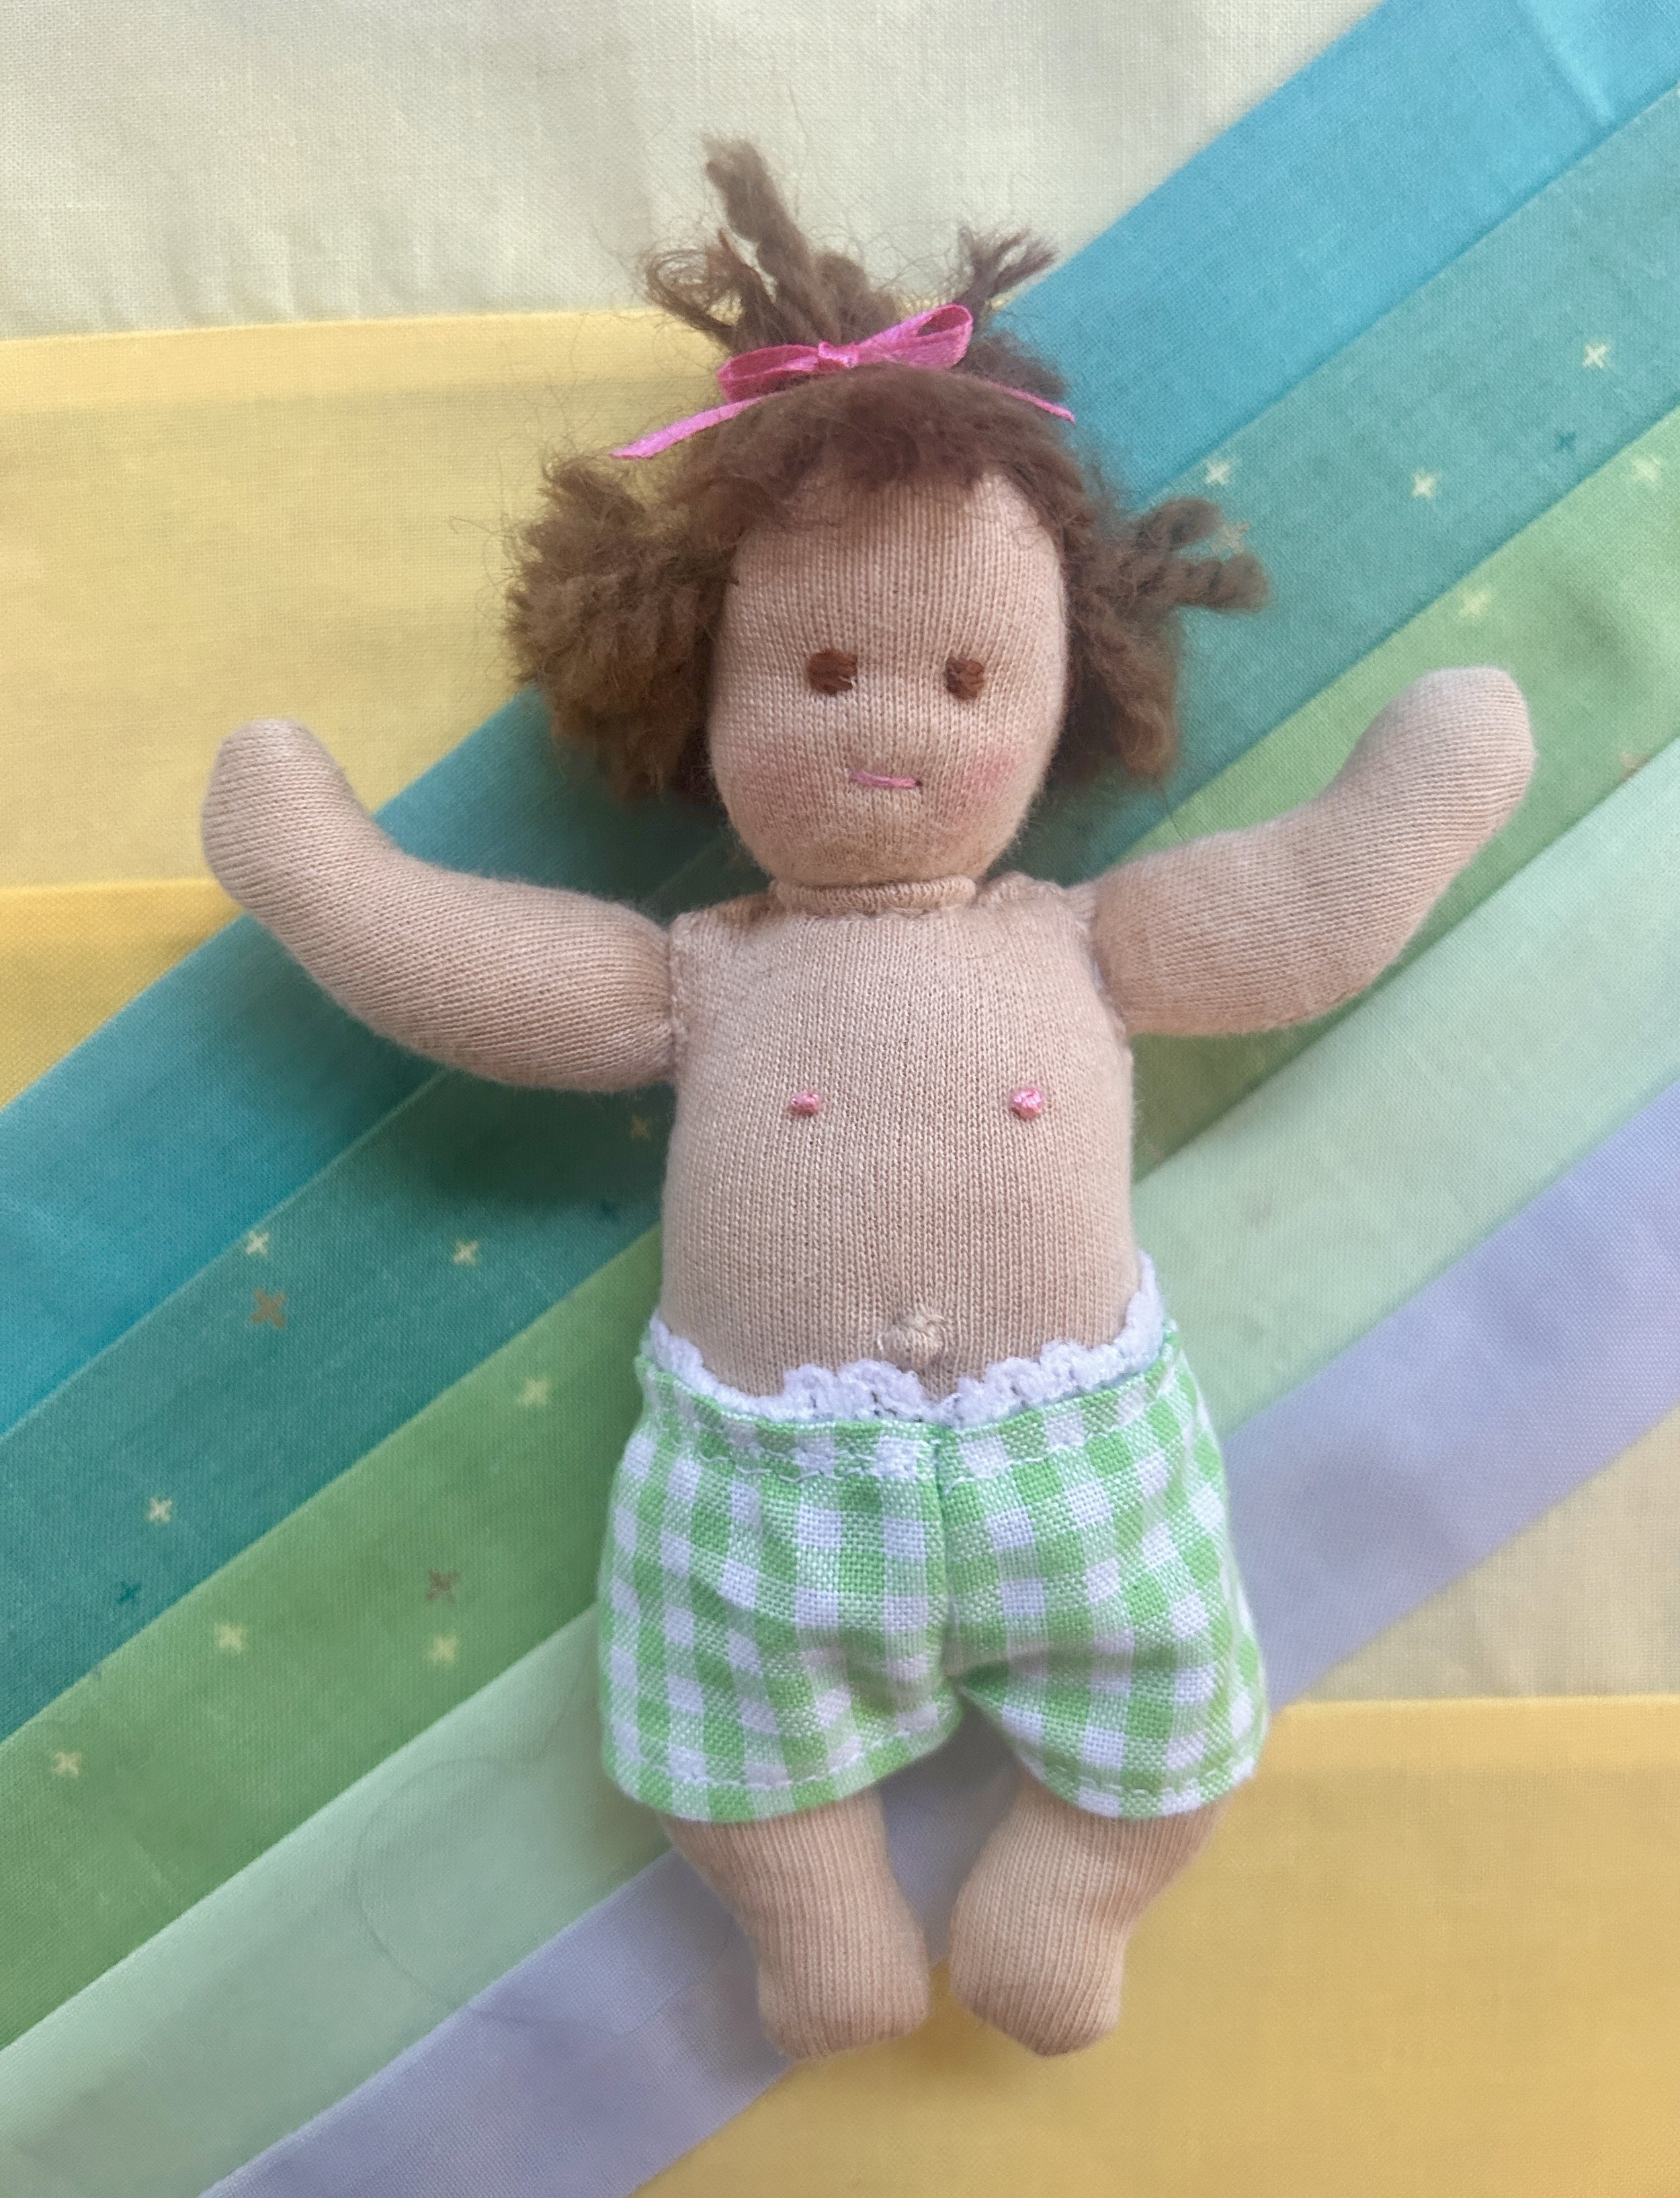
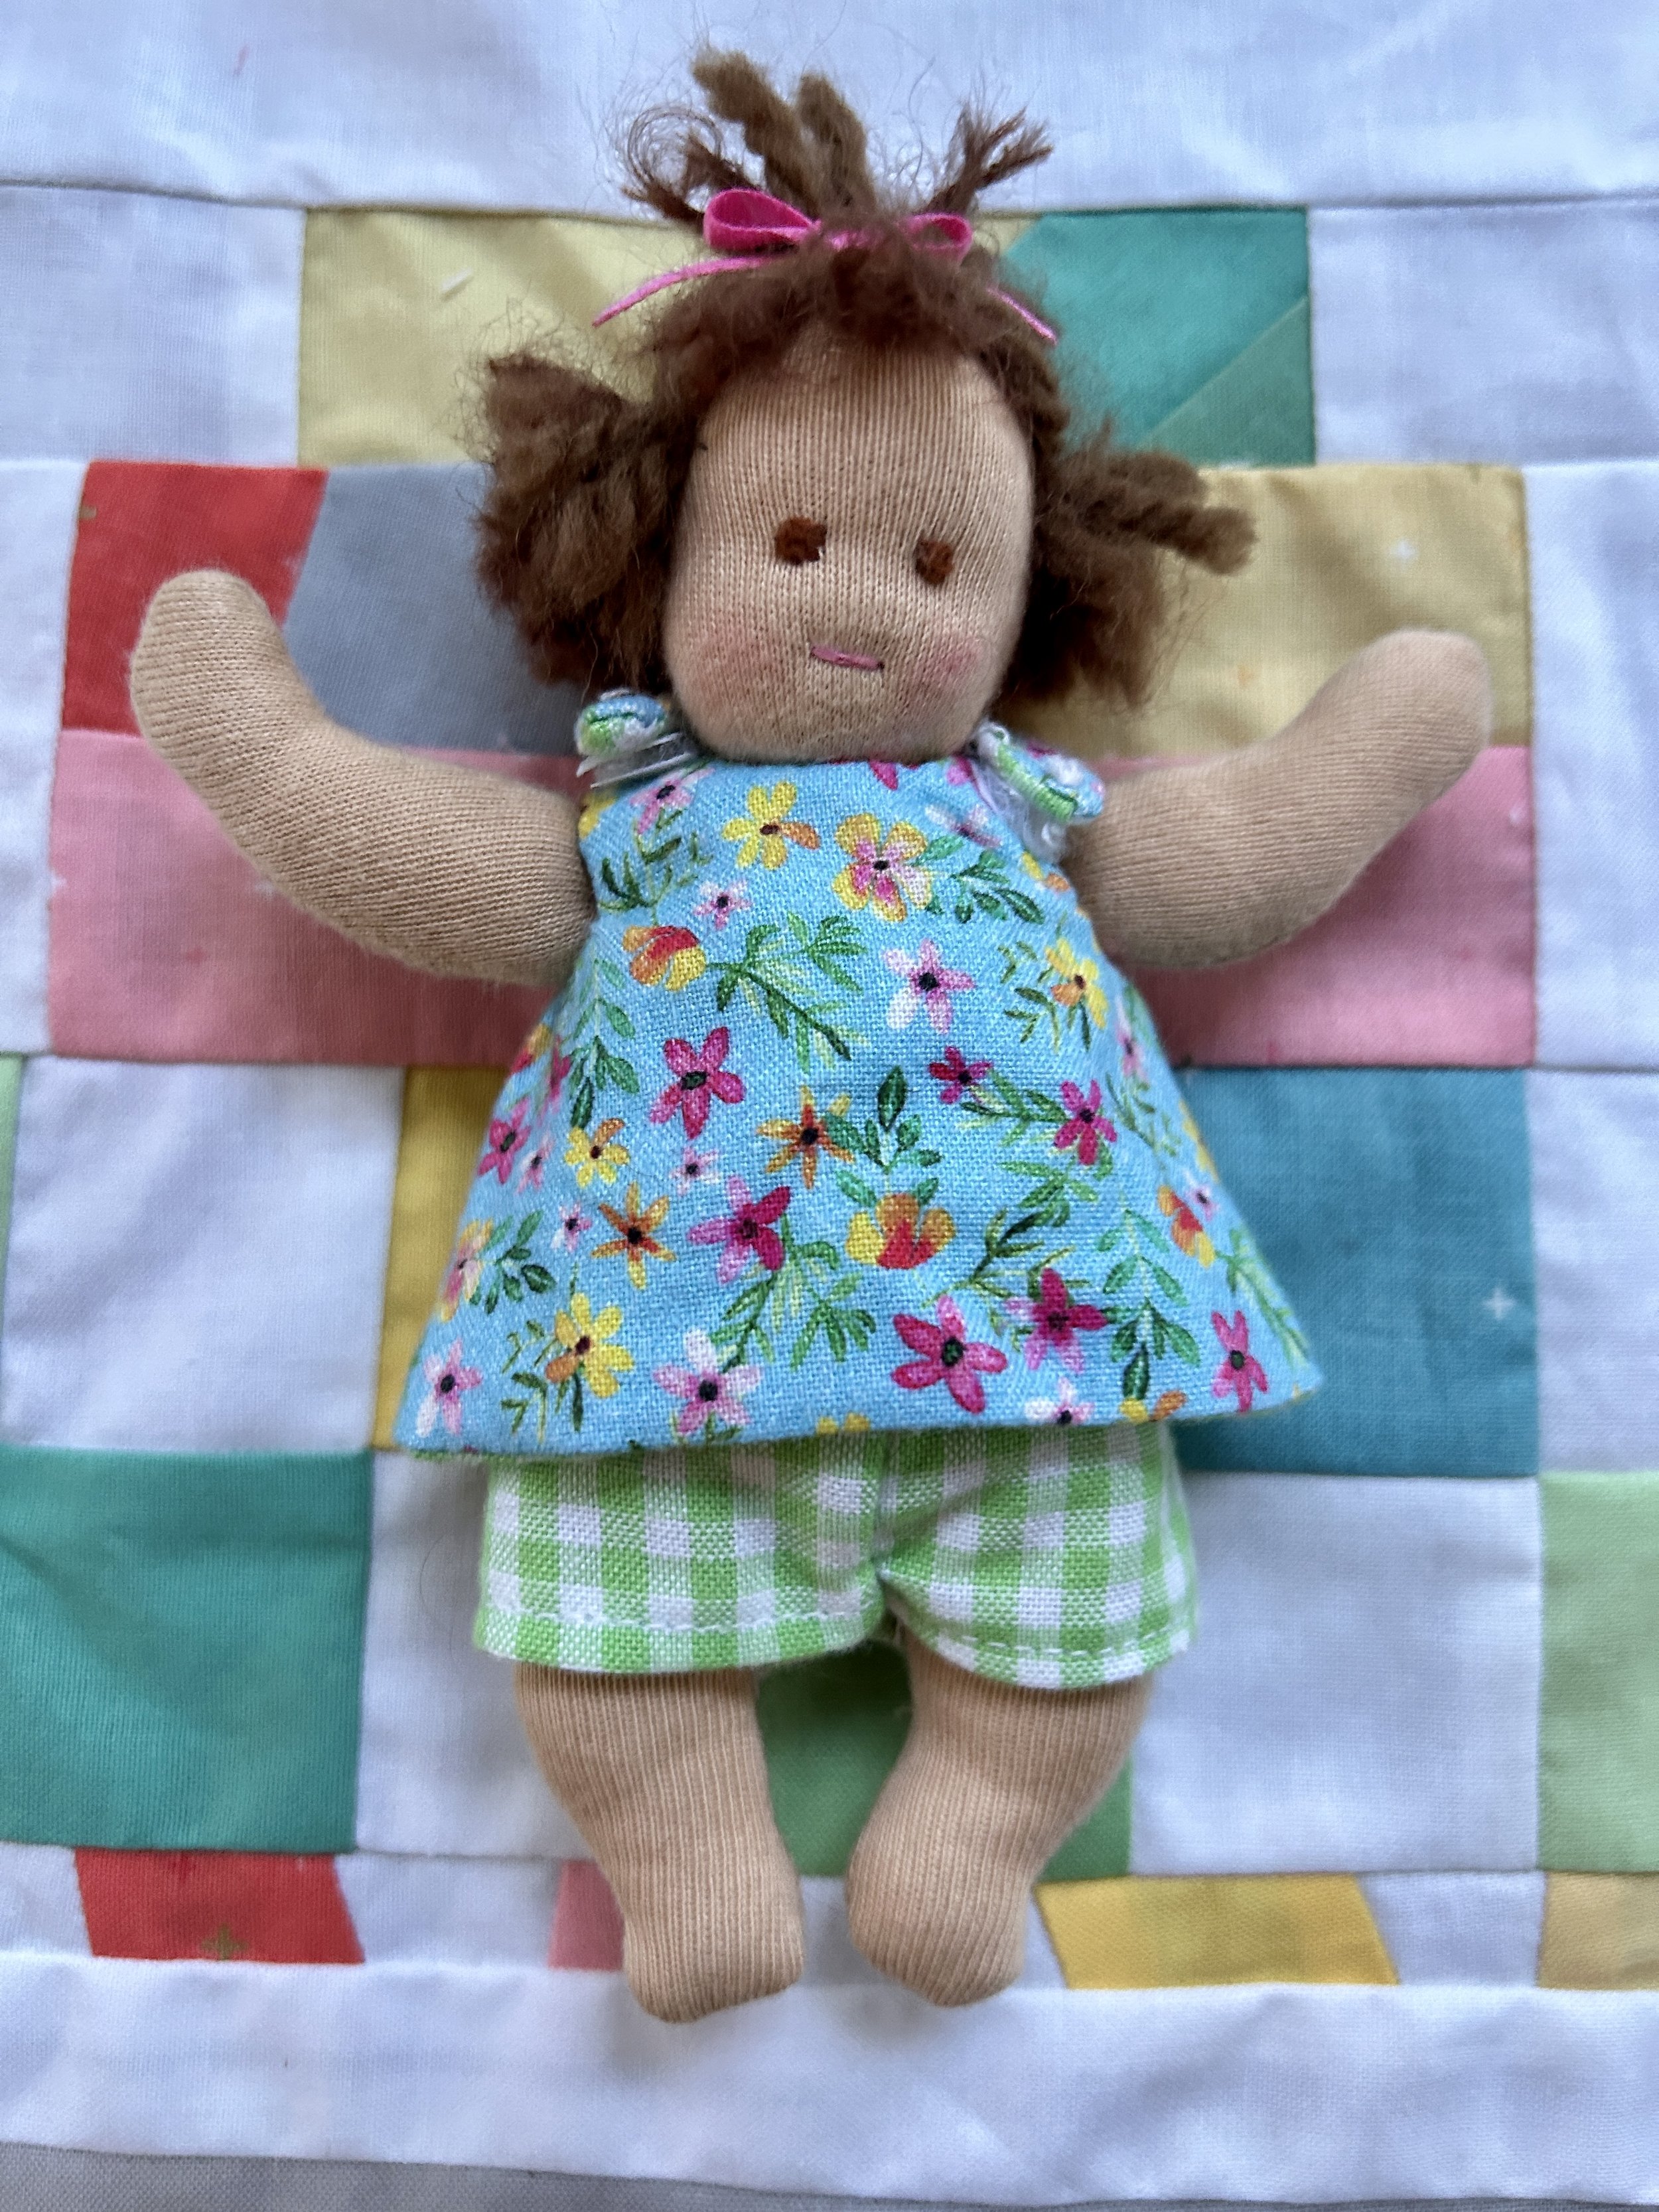
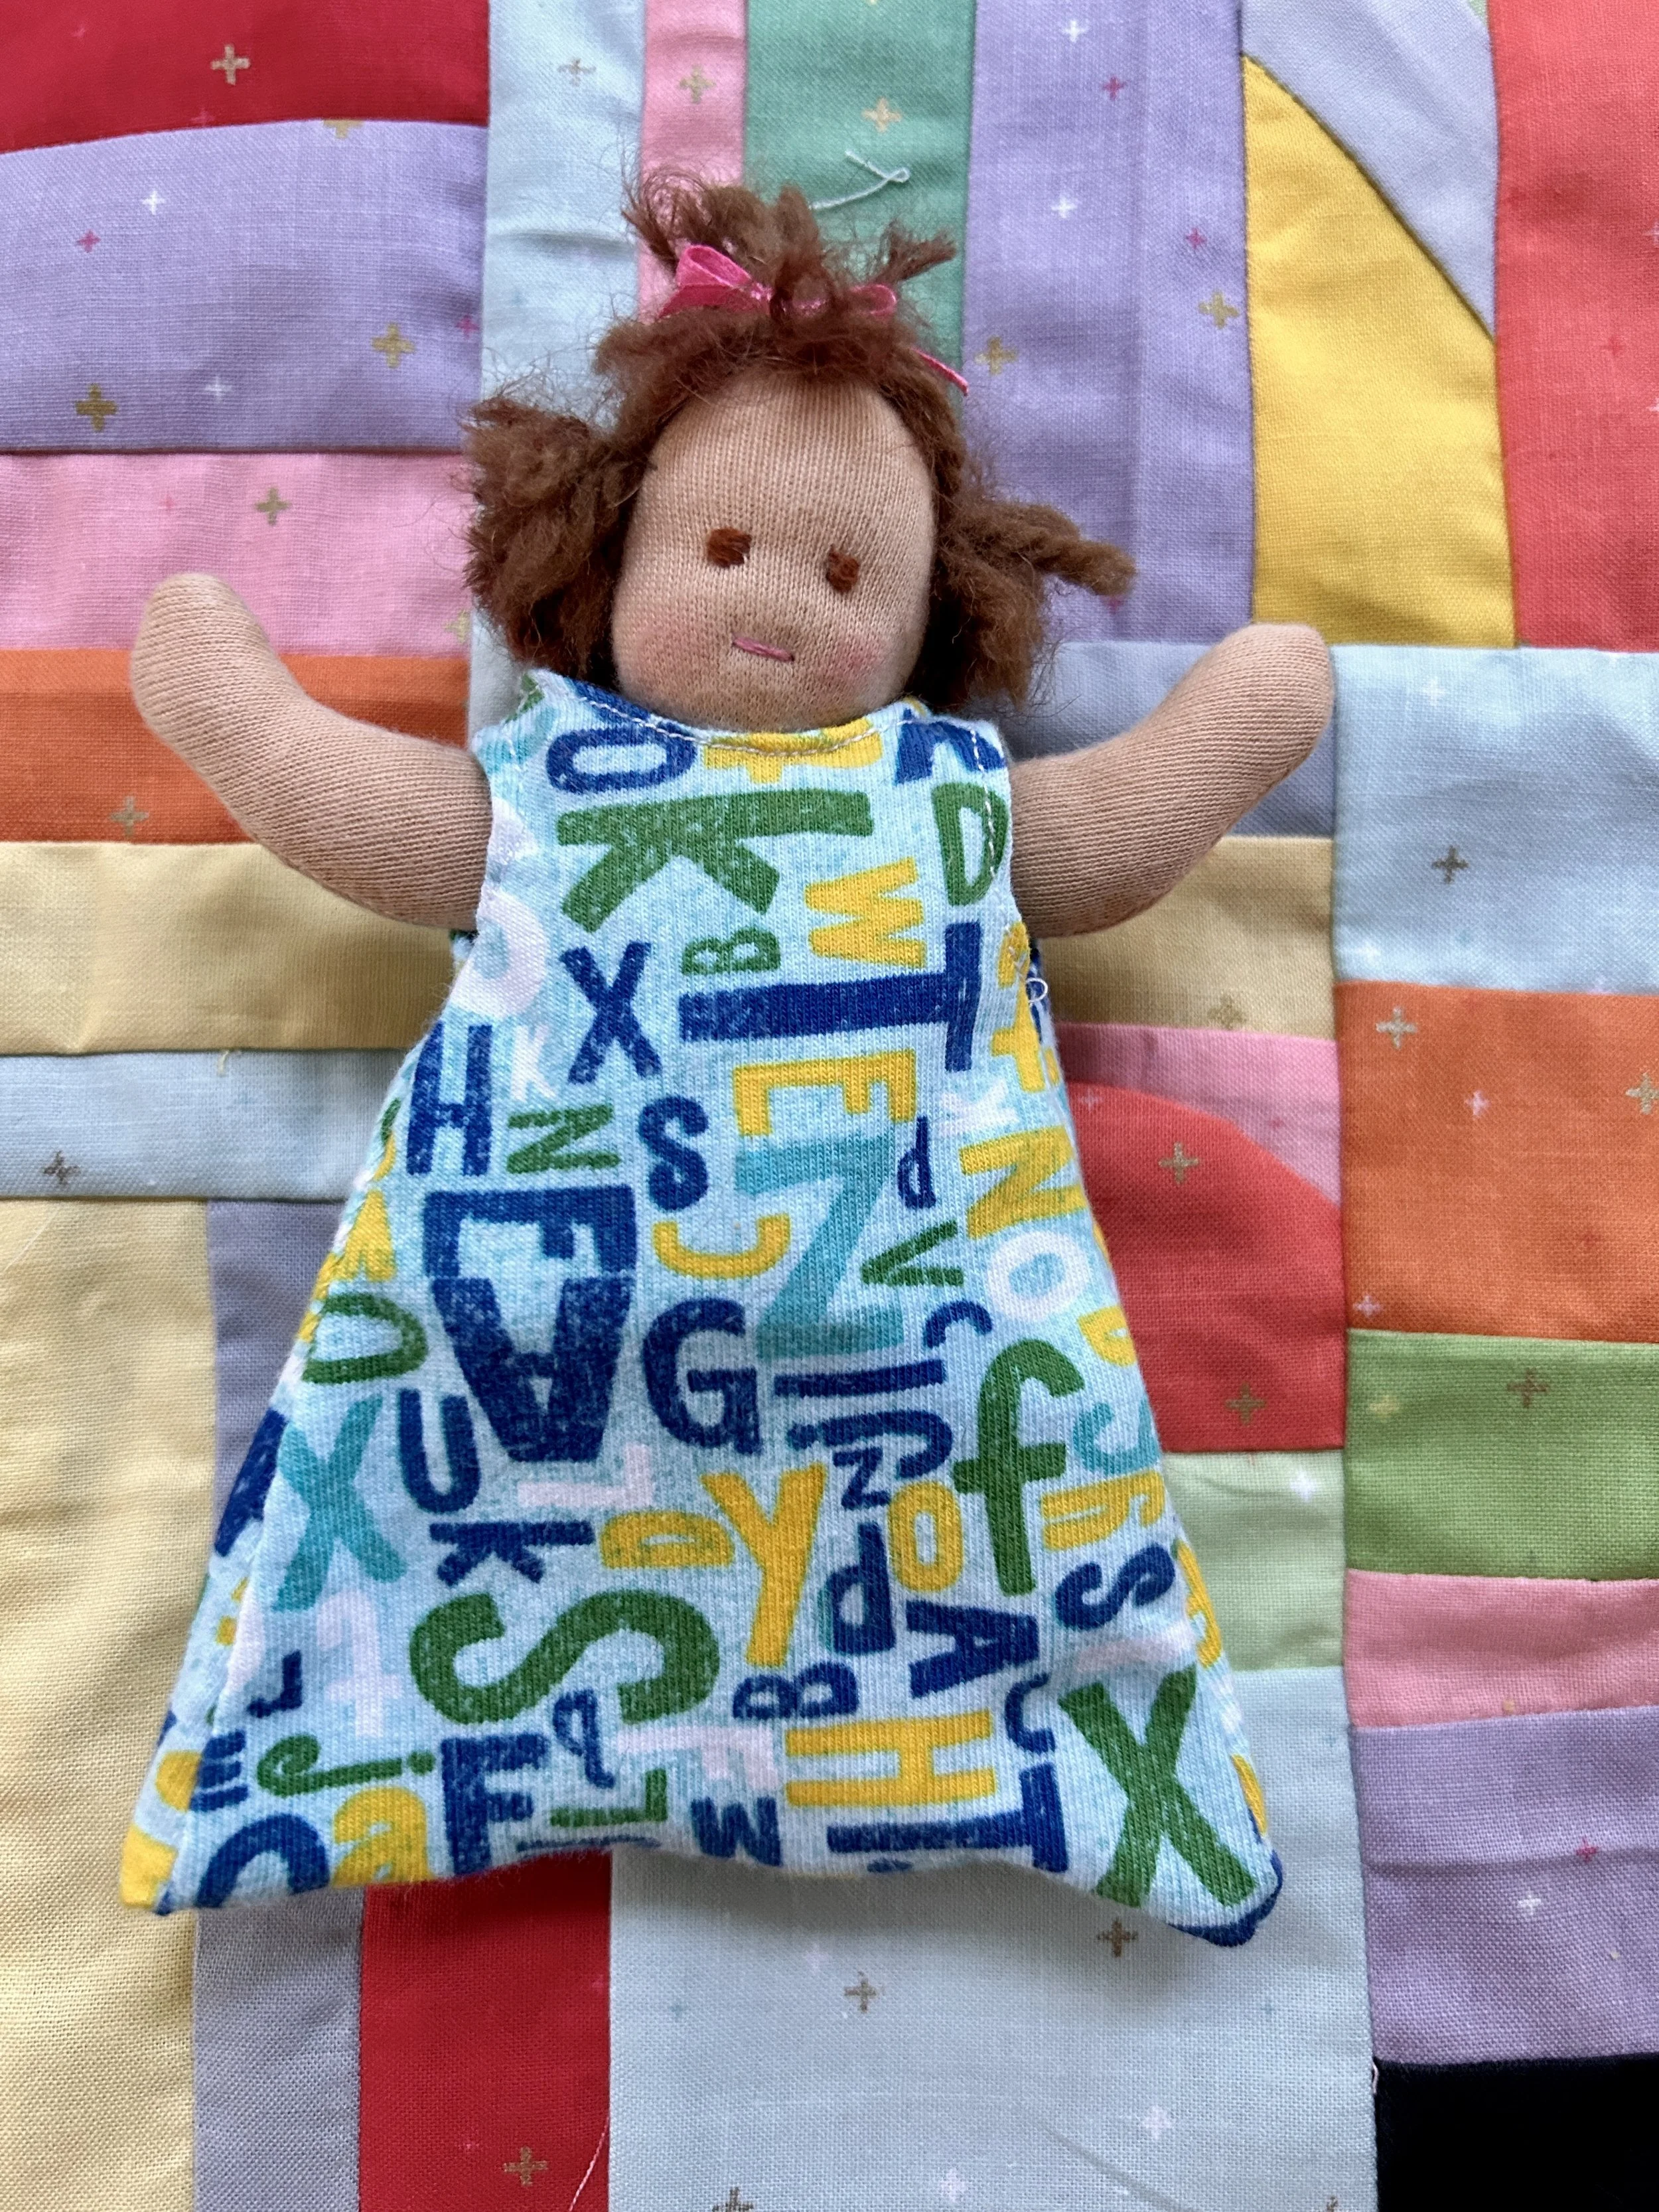
Once I had the tiny head rolled and covered with stockinette, I knew I could do it! The doll is 2 1/2 inches tall. I could have made her body a bit smaller, but I went with the size of the sleep sack I cut out of cotton velour and didn’t see any reason redo it. I did need to make the pocket a tad longer, but that wasn’t a problem.
The cotton lace sheet was a scrap left over from doll dress. What you see is all I had, so I couldn’t center the middle heart. But, close enough! The knit hat was created from an abandoned baby bootie—I’d knit about 3 inches when I realized my gauge was way off. I just gave up on that project so didn’t bother to unravel it. But it was just what a needed for a tiny knit cap! I cut it down to the right size, sewed up the back and gathered the loops on the upper edge to close the cap.
The doll’s face was drawn using Picma Archival Ink markers. She’s just too tiny to try to embroider her facial features.
The Child’s Dream heart is stuffed with herbs. My heart is stuffed with wool roving from a sheep, just like the doll.
The girl I made this for loves all things tiny! I can’t wait to see her reaction!
(The Child’s Dream is a great place to find art supplies, supplies for making Waldorf dolls, home school supplies and lots of other items in line with Waldorf schooling. It’s a treasure trove! I’ve use them a lot over the years. NOTE: I’m not associated with the store in any way and this is not an affiliate link).
